Hollow tiles, identified by a hollow sound when tapped, are one of the initial aspects new property owners inspect upon receiving the site. The presence of even a single hollow tile may result in costly and time-consuming repairs. This piece delves into the reasons behind tile hollowness and offers actionable advice for contractors to avoid it during installation.
How to Eliminate Tile Hollowness During Installation
- Improper Subfloor Preparation: Uneven subfloors can result in voids beneath the tiles, causing hollowness.
- Insufficient Mortar Mix: Inadequate mortar mix, whether from incorrect ratios or excessive water, can lead to air pockets, affecting adhesion and resulting in hollowness.
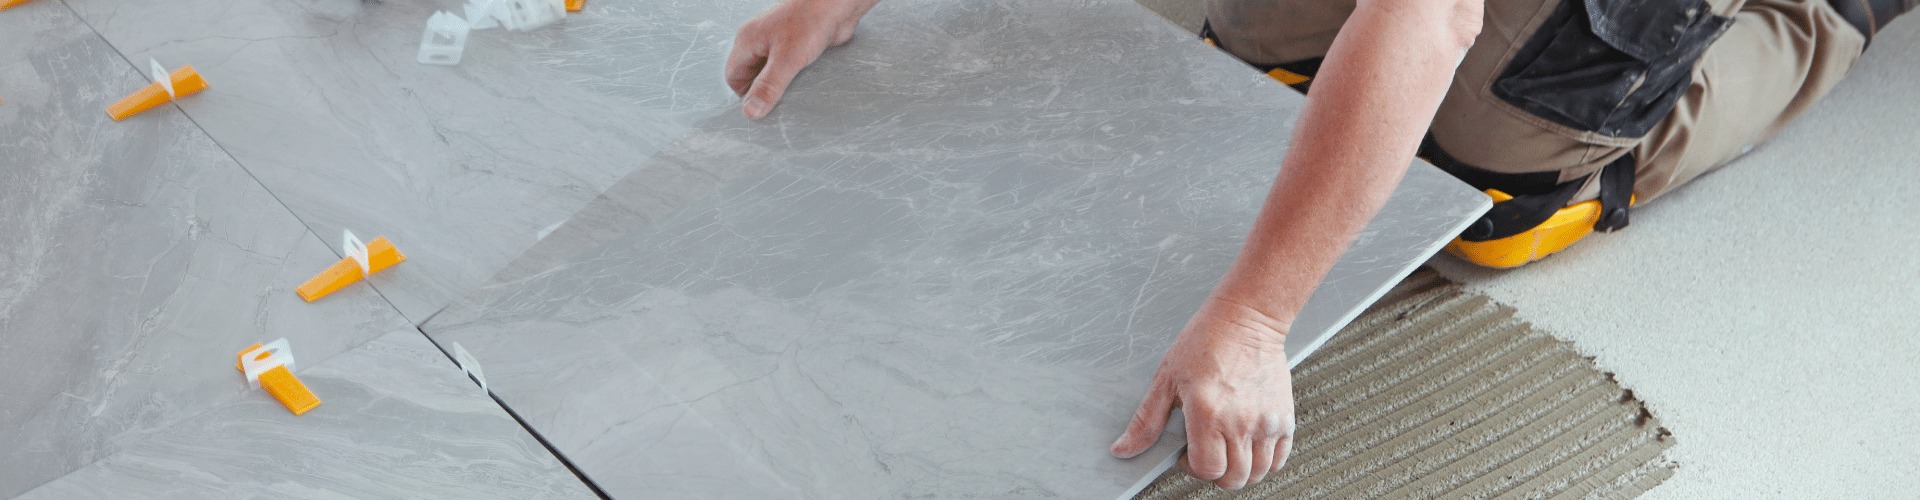
- Improper Tile Laying Technique: Failing to use a complete trowel spread or leaving air pockets while placing tiles can generate voids.
- Tile Joints That Are Too Narrow: Contrary to common beliefs, the cementitious substrate underneath the tiles and mortar expands more than the tiles and mortar bed. Therefore, it is standard practice in the industry to leave a minimum gap of 3mm when installing tiles to allow for substrate expansion.
- Missing Expansion & Perimeter Joints: Neglecting to include expansion and perimeter joints can result in hollow spaces, as stress from the mortar bed’s expansion causes the tiles to press against each other.
- Excessively Thick Mortar Bed: A mortar bed that exceeds the recommended thickness can shrink significantly as it dries, leading to the formation of voids.
Preventing Tile Hollowness: A Step-by-Step Guide
- Subfloor Preparation: Make sure the subfloor is level, clean, flat, and free of debris. Address any uneven areas by patching or grinding as needed.
- Mortar Mix: Adhere to the manufacturer’s specified ratios for the mortar mix. Maintain a consistent water amount for the right workable texture.
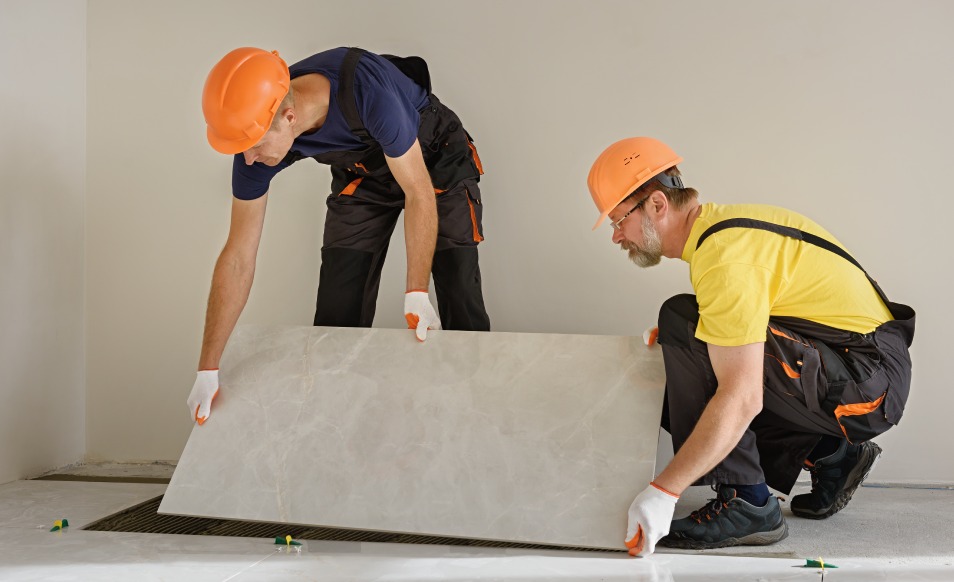
- Trowel Spread: Employ a complete trowel spread technique to guarantee full contact between the mortar and tile.
- Tile Laying: Press each tile gently onto the mortar bed to remove air pockets. Use a tapping block to ensure complete coverage between the adhesive and tile.
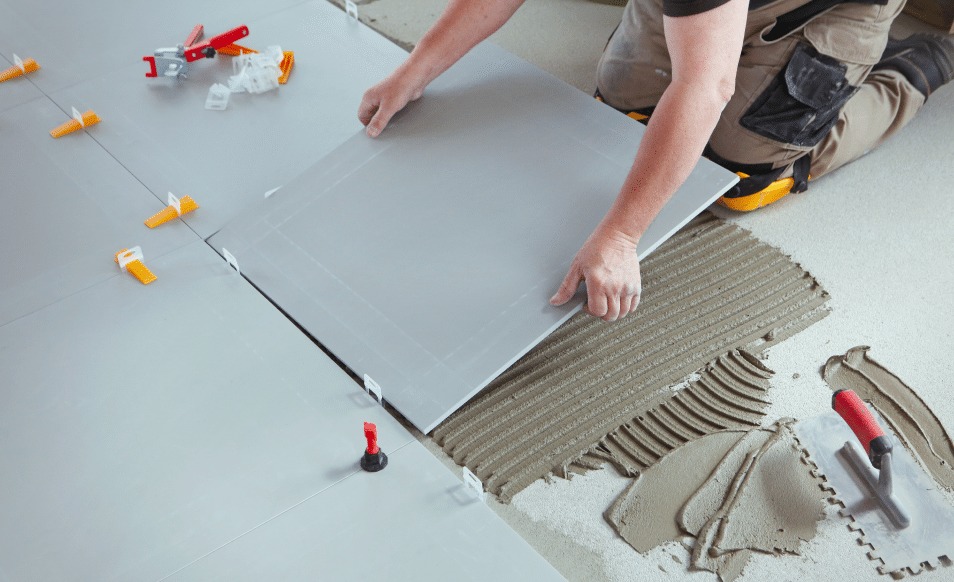
- Tile Joints: For interior area installations, maintain a minimum 3mm gap and a minimum of 5mm for exterior areas, especially those exposed to direct sunlight. Use spacers for consistent spacing during installation.
- Expansion and Perimeter Joints: Incorporate expansion and perimeter joints in large spaces and when using large format tiles. Ensure a minimum joint width of 6mm.
- Mortar Bed Thickness: Adhere to the manufacturer’s specified mortar bed thickness to prevent excessive shrinkage and potential hollowness.
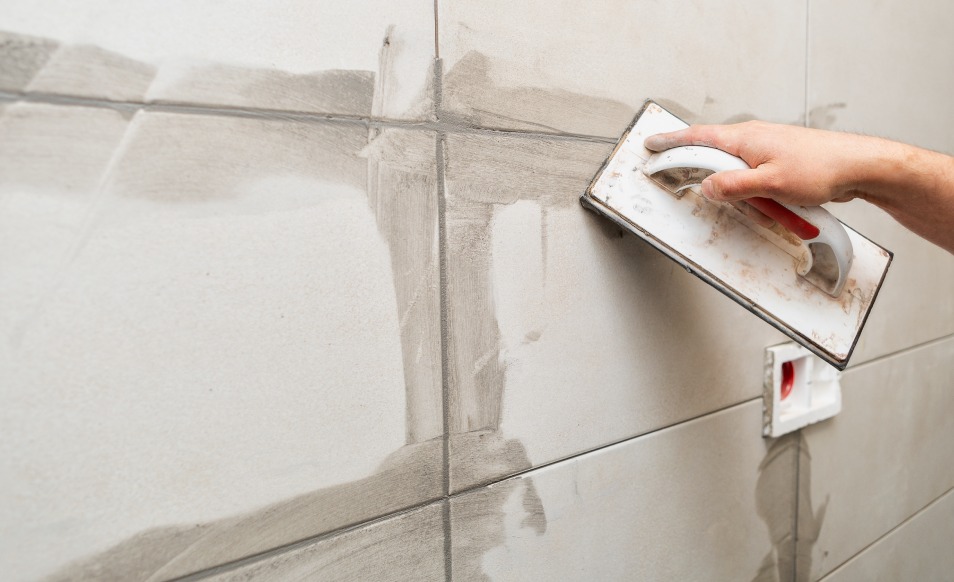
- Curing Time: Allow the mortar bed to fully cure before grouting, following the recommended curing time for the specific product used.
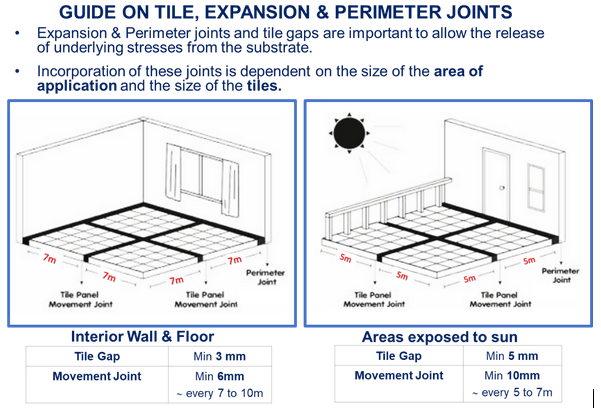
A primer on tile gaps and movement joints required for interior areas and areas exposed to sun.
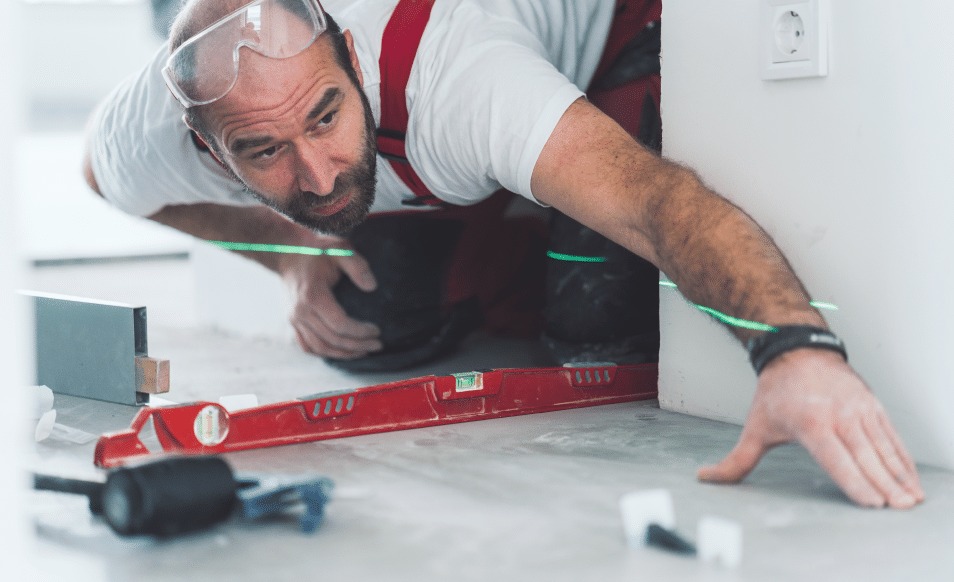
Make sure to routinely assess the subfloor level and make any necessary adjustments during the installation process.
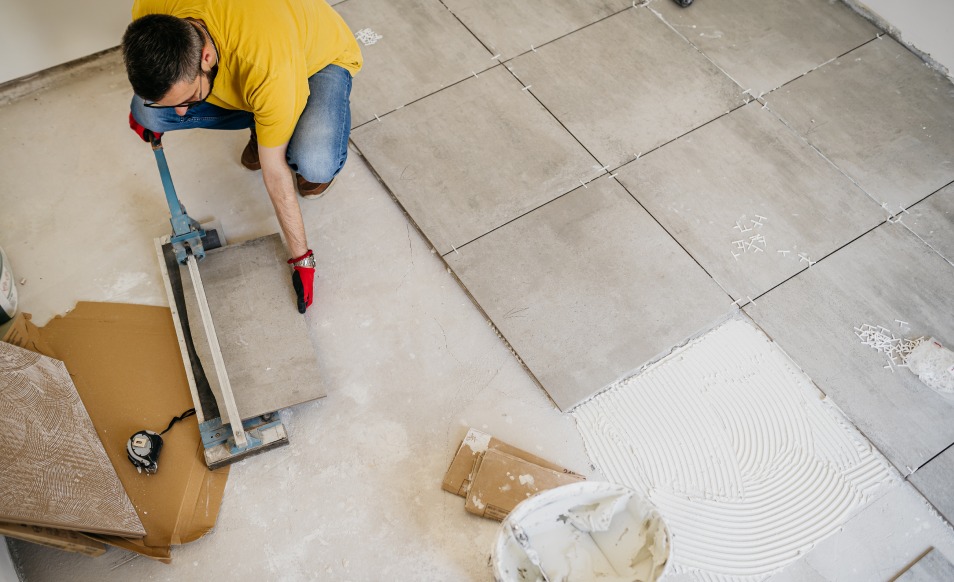
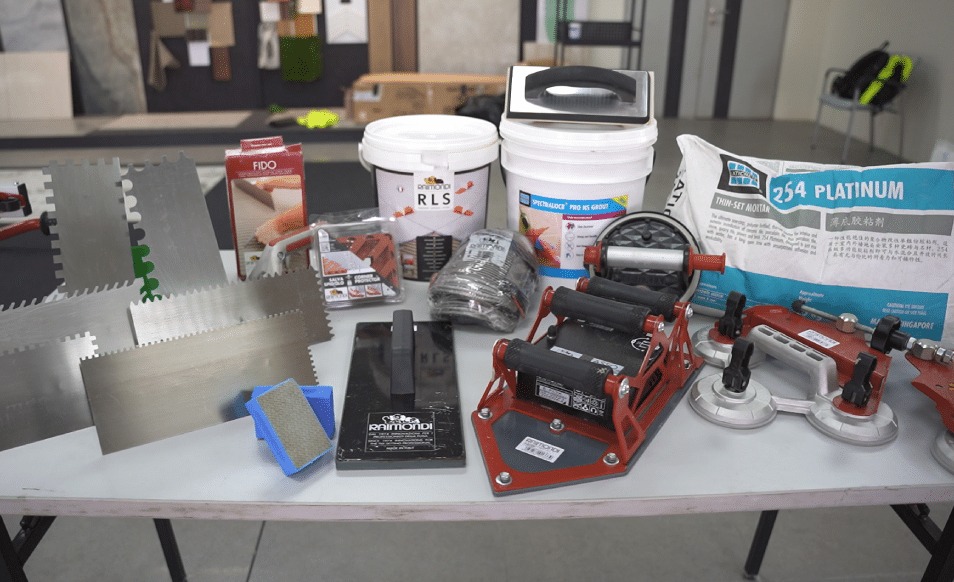
Utilize a notched trowel that matches the correct notch size for the tile size being utilized.
When dealing with large areas, it’s advisable to work in sections to maintain consistent mortar quality and prevent it from drying out before laying the tiles.
Invest in top-notch materials, such as the mortar mix, to enhance performance and reduce the chance of hollowness.
Contractors can greatly diminish tile hollowness by meticulously following these steps, leading to time and cost savings, as well as guaranteeing a durable, top-notch installation.